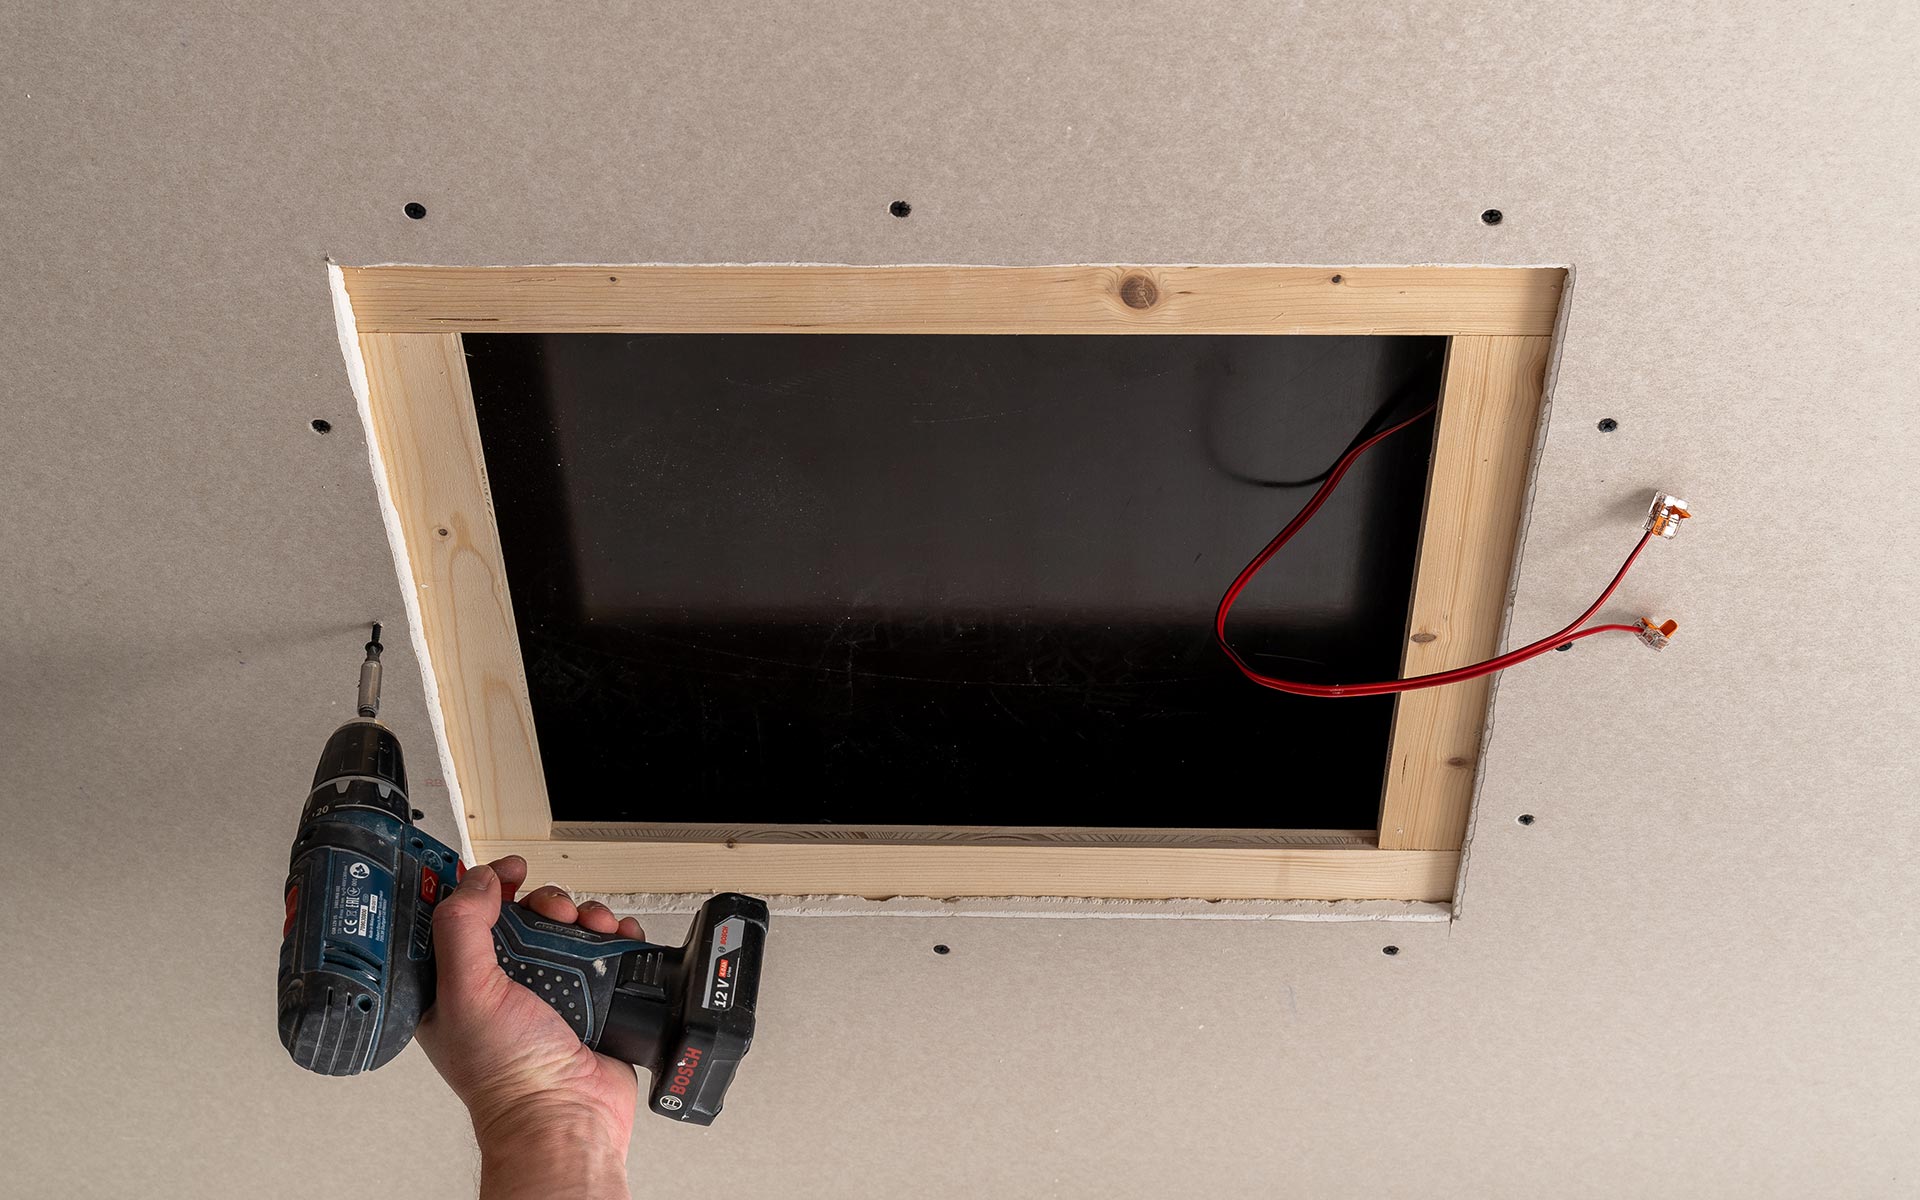
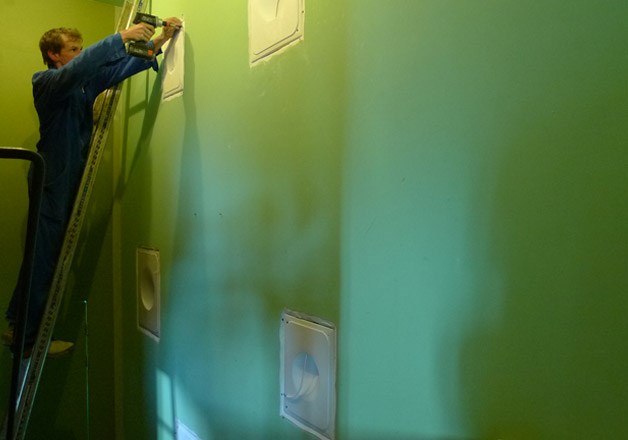
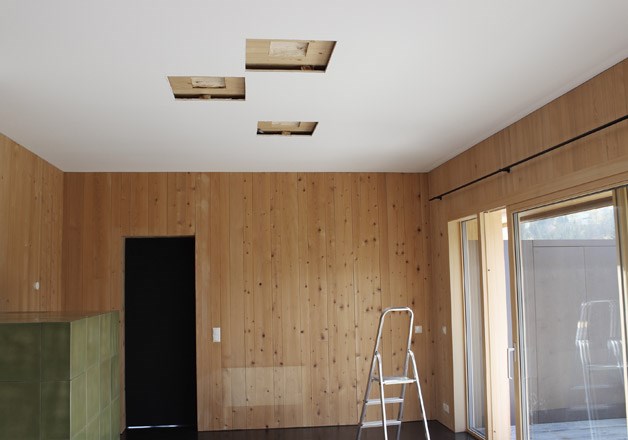
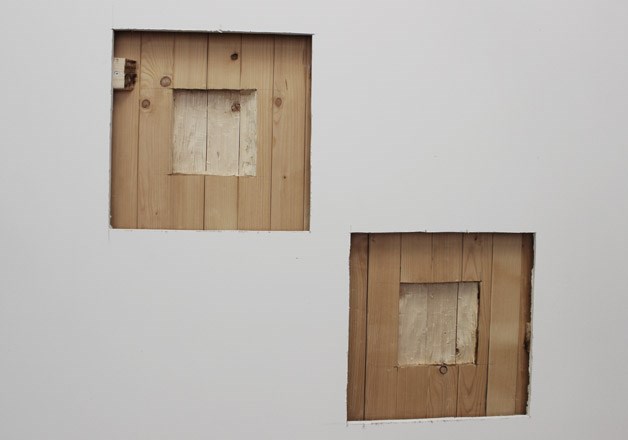
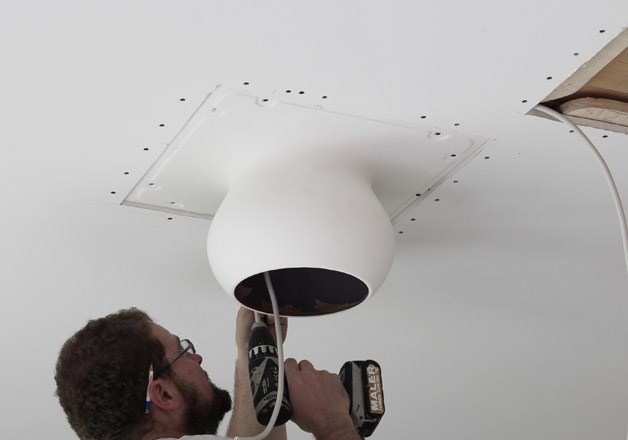
1. Make cutout of the specified size in the plasterboard
and prepare substructure so that the installation module can be
screwed well into the plasterboard ceiling.
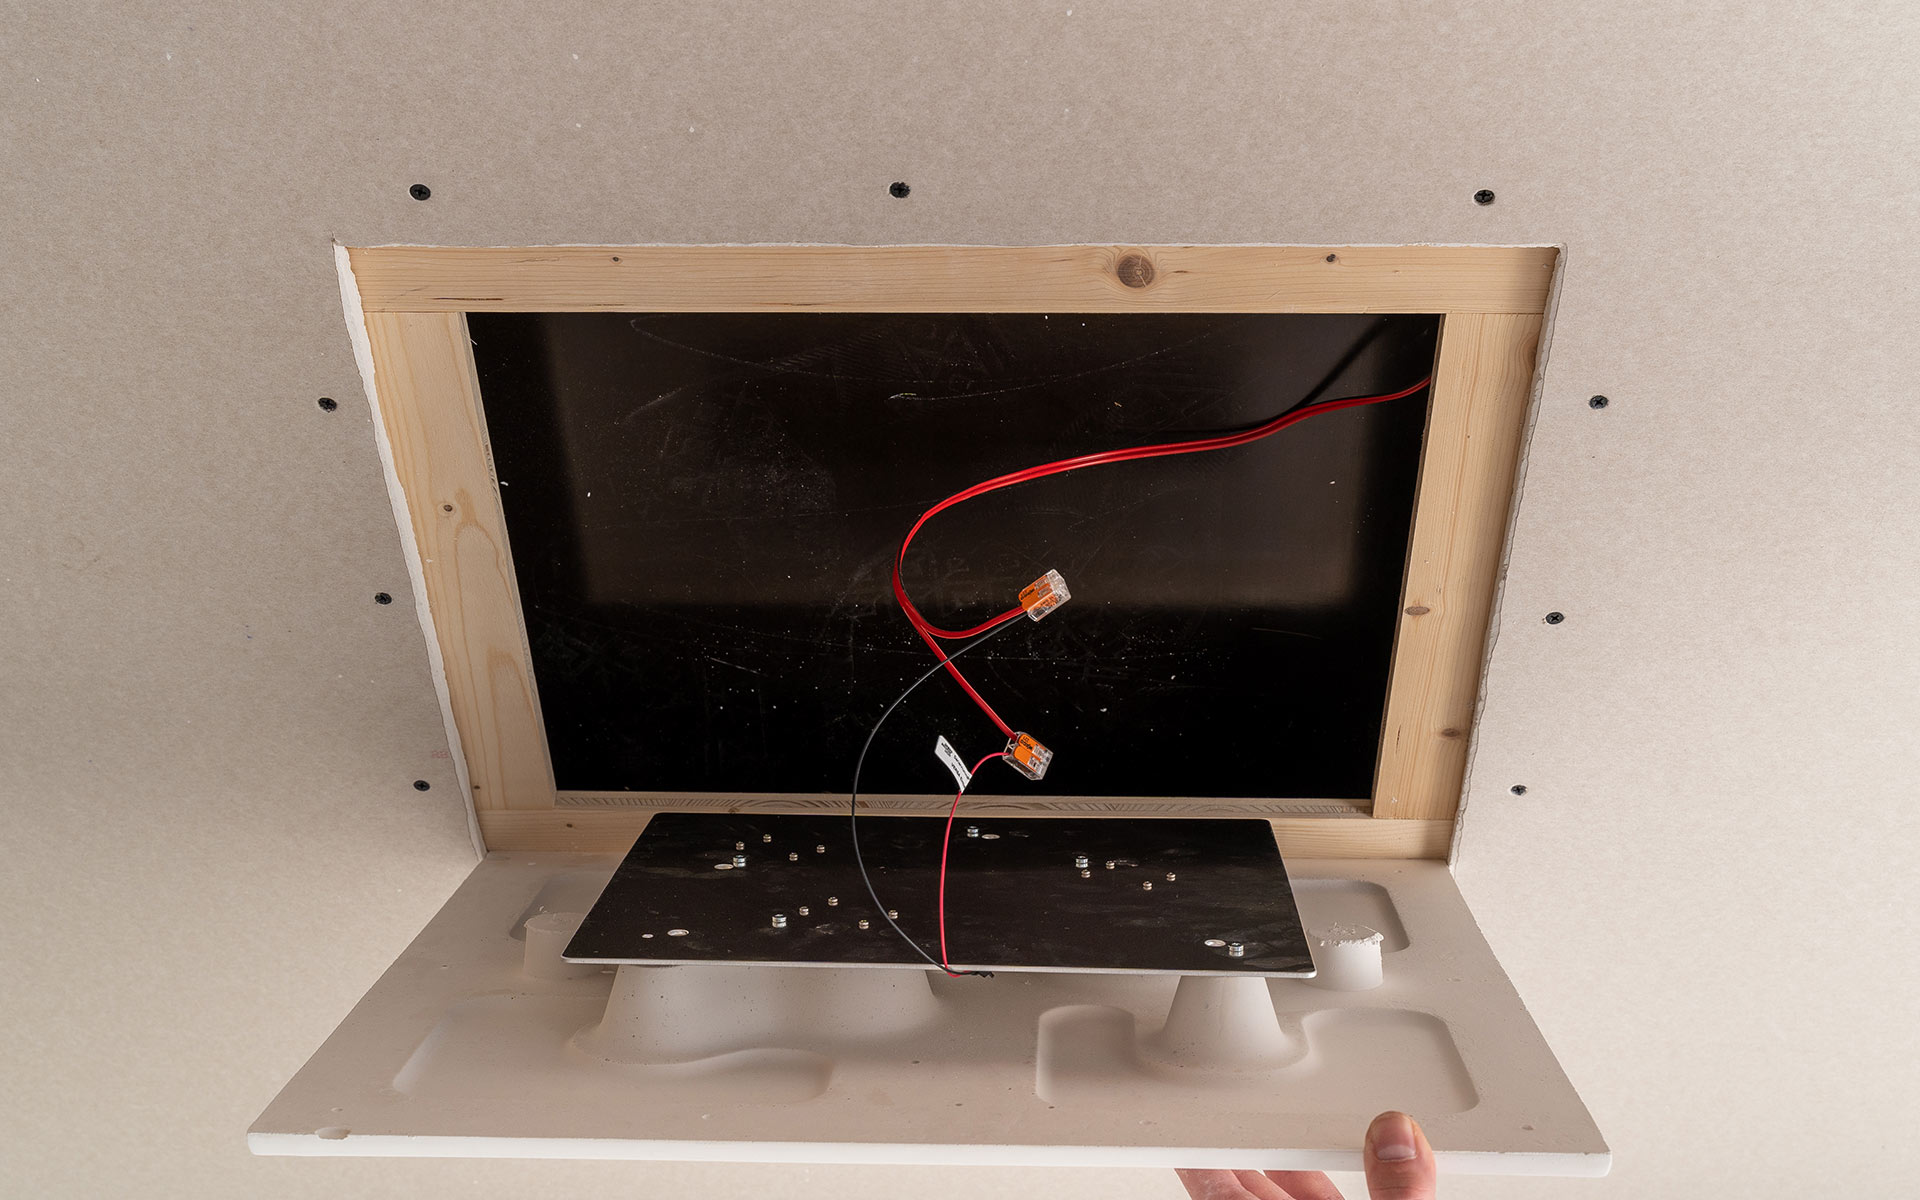
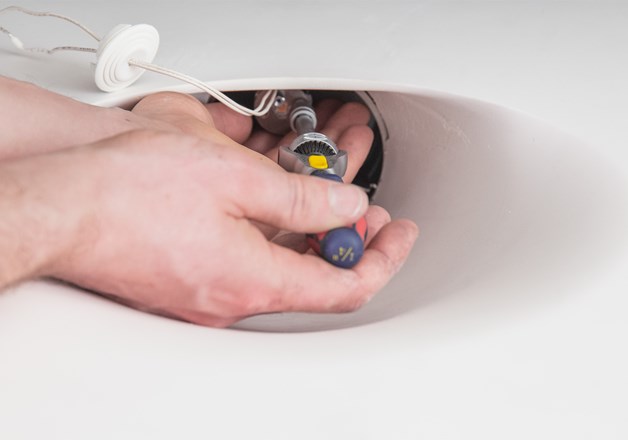
2. Connect supply cables to the module.
Ensure correct wiring if there are more than one modules
(series circuit). We recommend wiring each VERSA module
individually in order to facilitate possible troubleshooting later.
The number of luminaires (3 LEDs per VERSA) depends on the
capacity of the led-driver. Please observe specifications on
devices or in our planning documents.
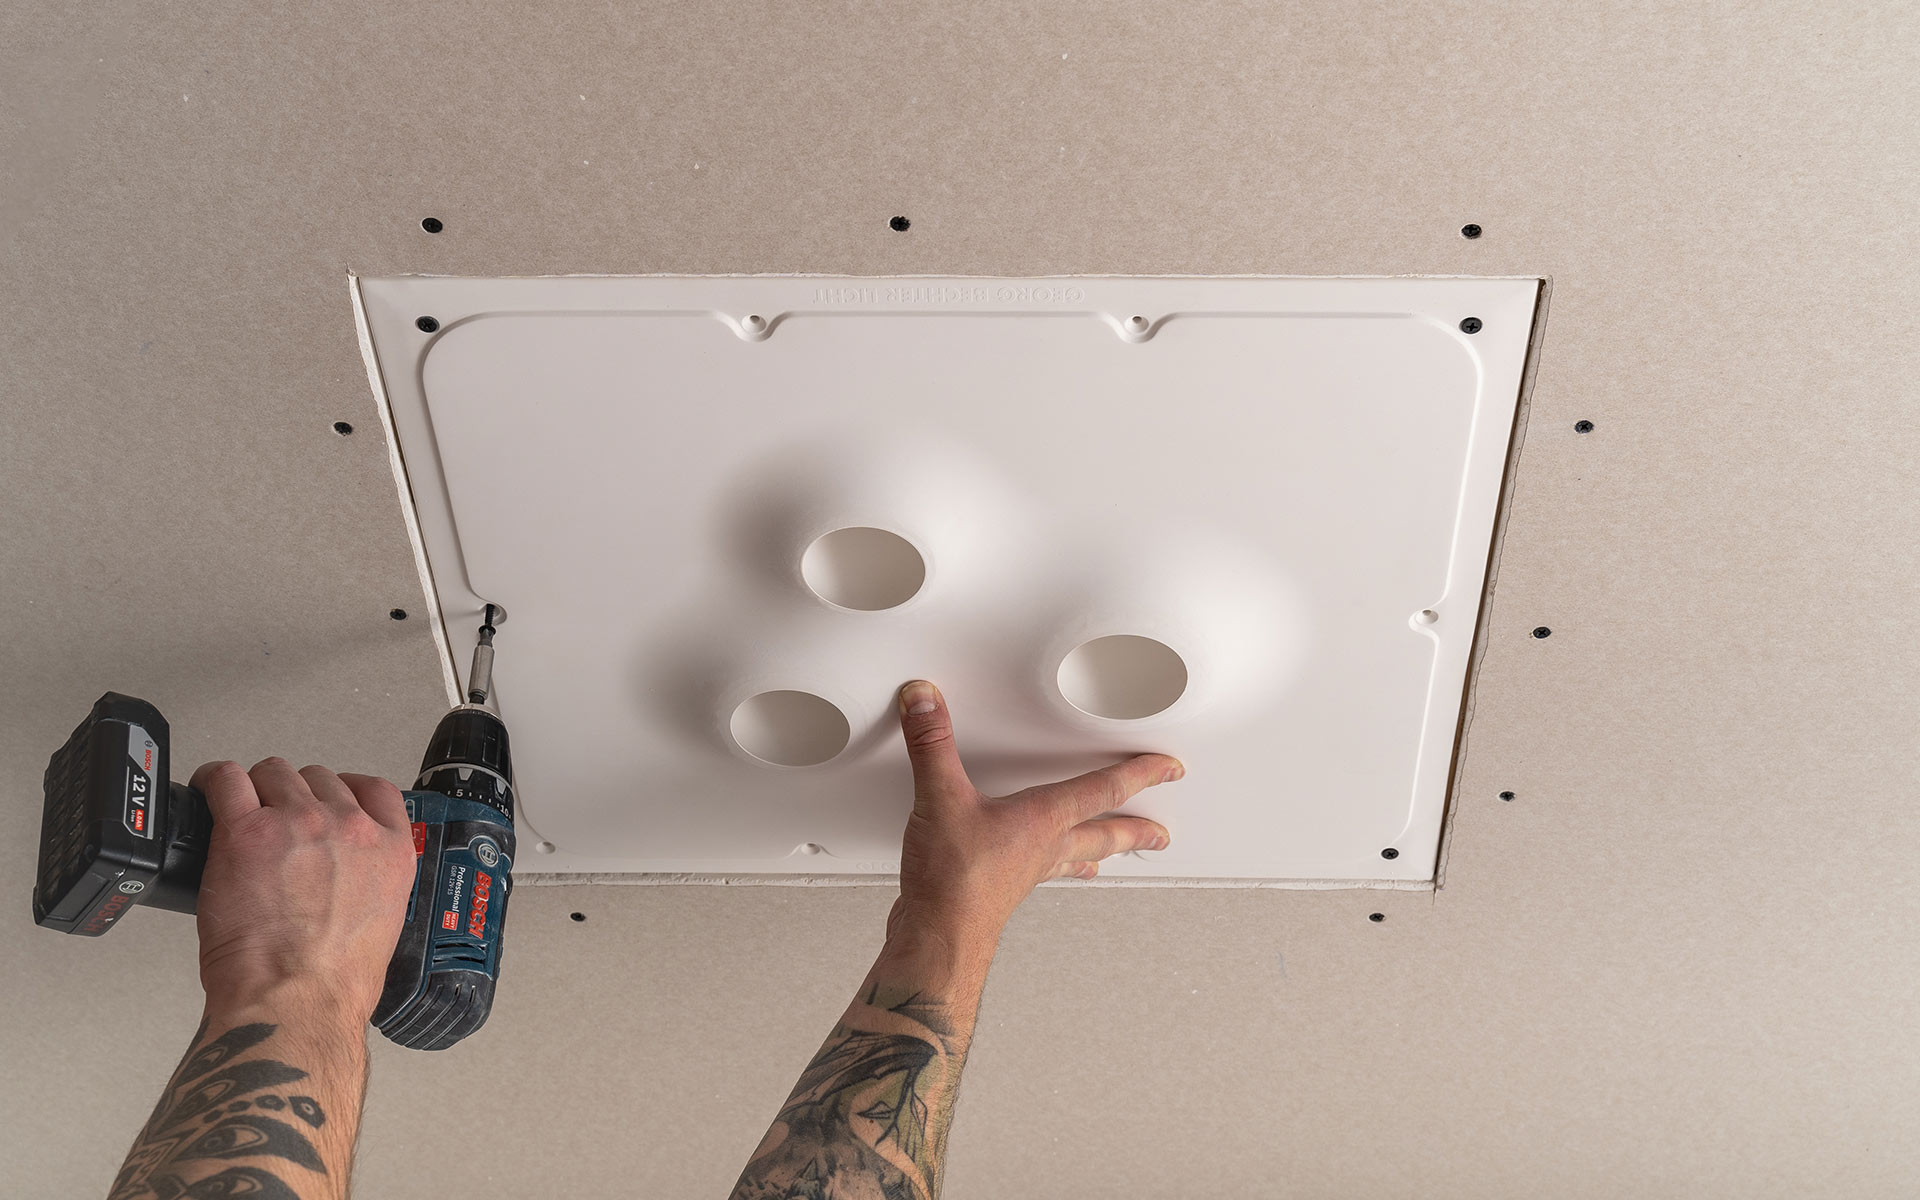
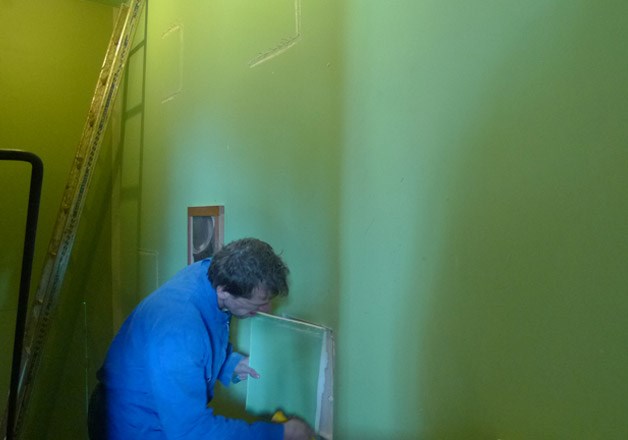
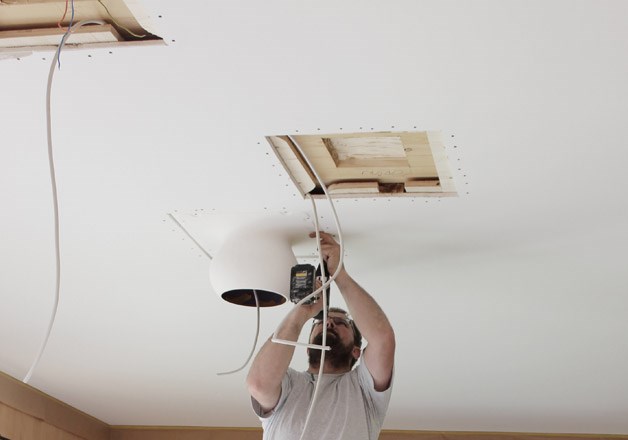
3. Carefully screw plaster module into prepared opening. Always
pay attention to VERSA‘s delicate edges, especially on the
recesses.
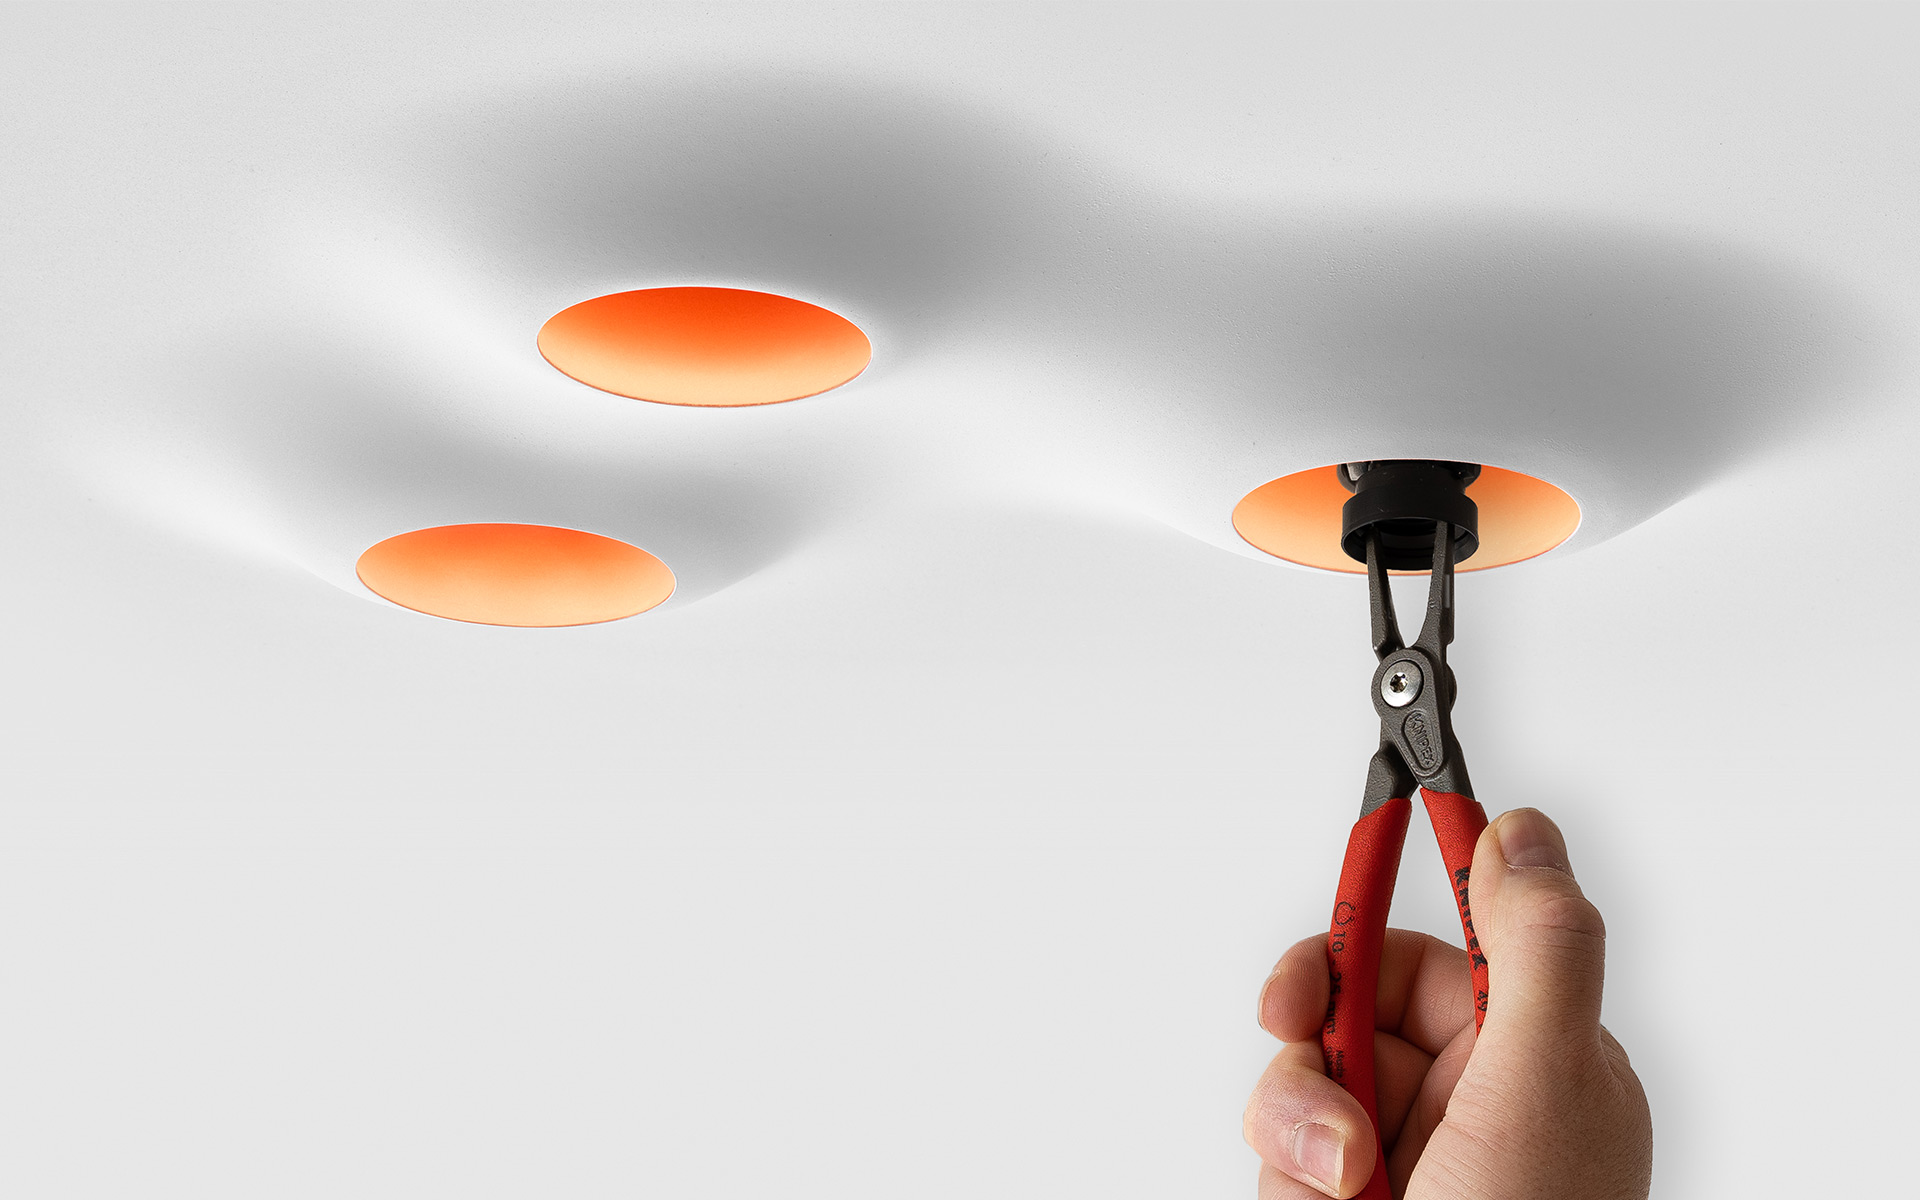
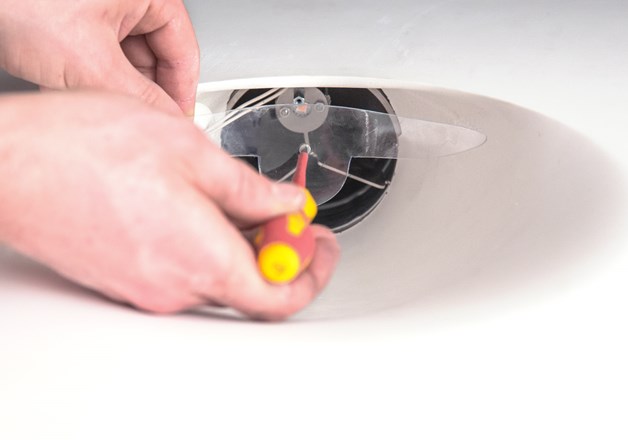
4. IMPORTANT TEST OPERATION: Put LED into LED mounting and turn clockwise
by approx 90° until it sits securely. For this installation we
recommend the assembly pliers of our DOT 28 System 168101.
This way you test the correct wiring within the system including
the led-driver. CAUTION! HOT PLUG! Remove the LED after
successful testing if the insides of the openings will be painted.
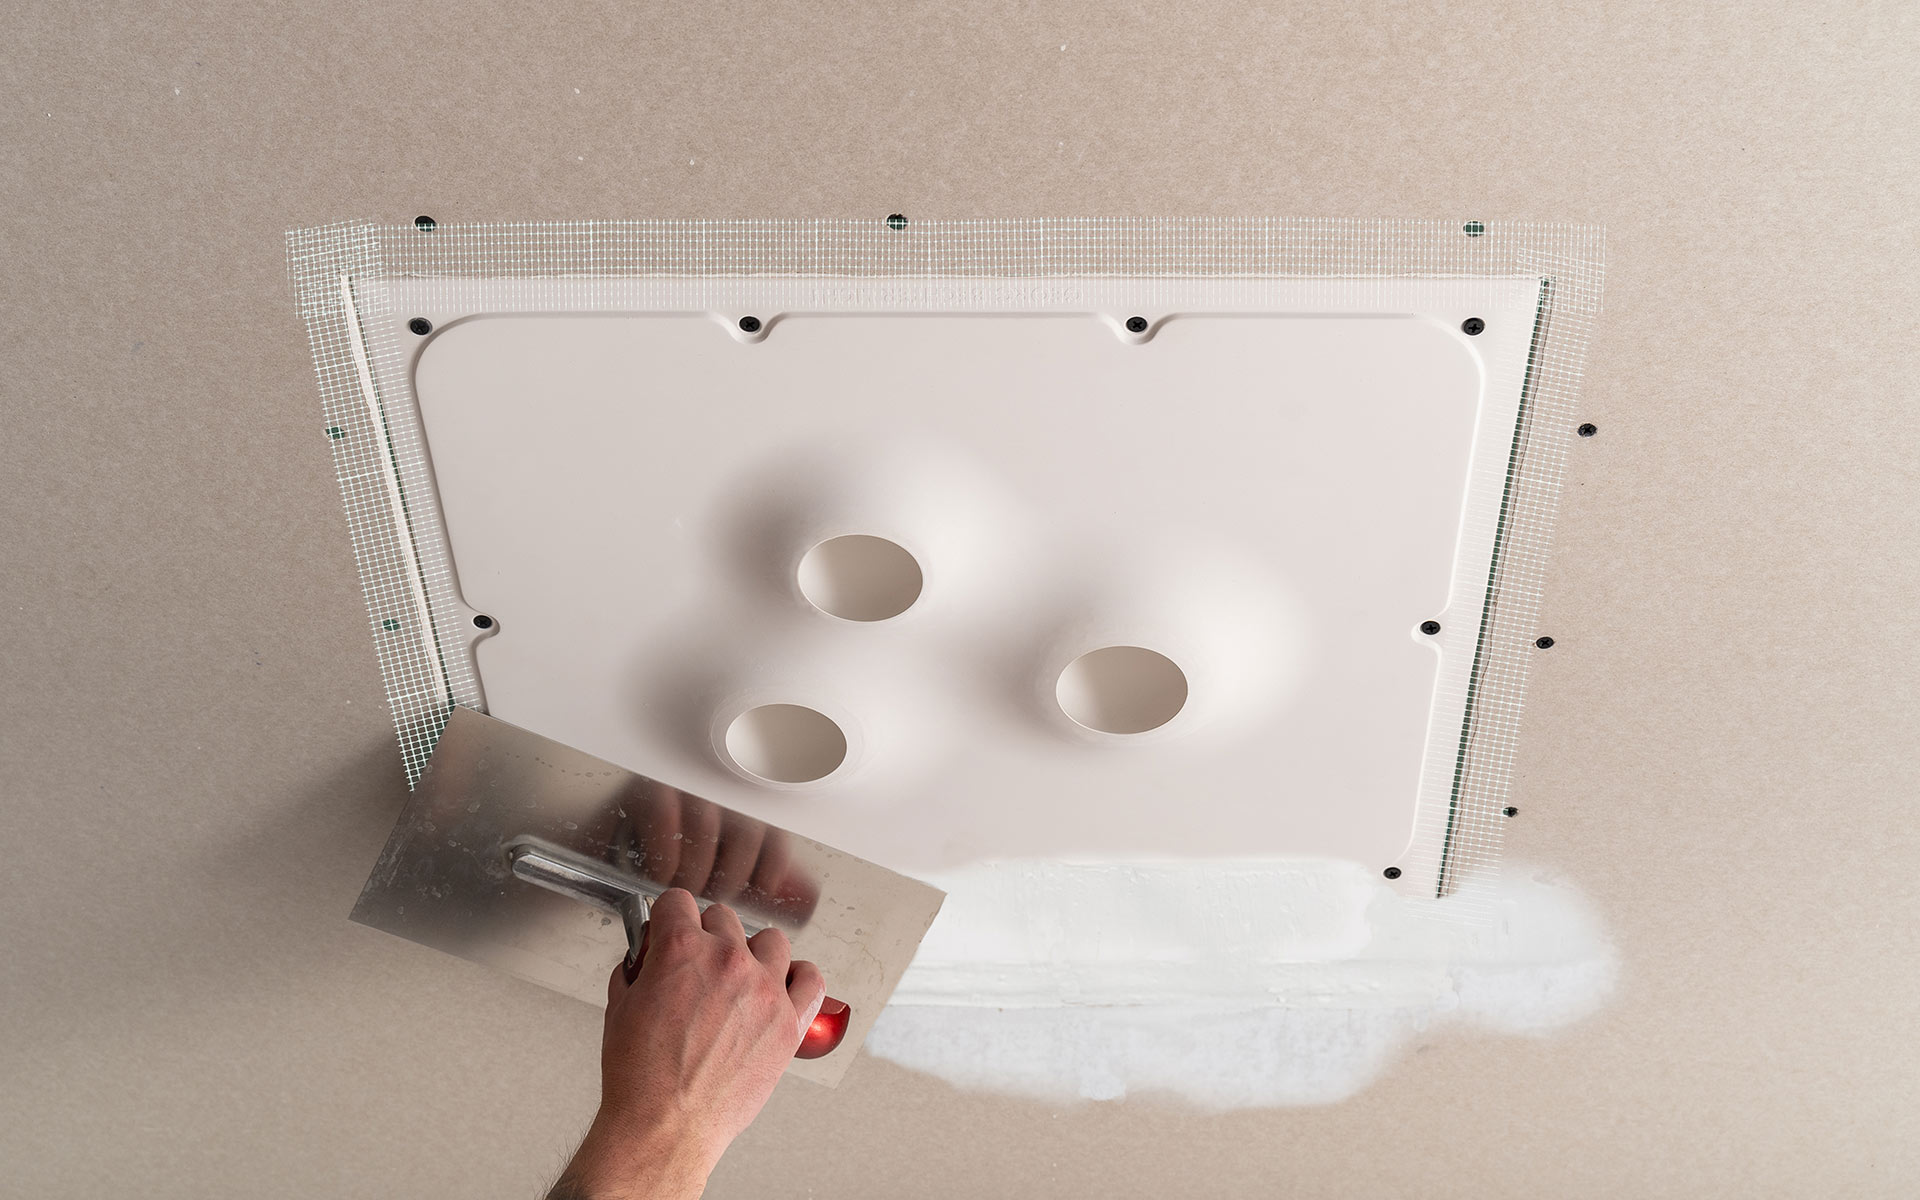
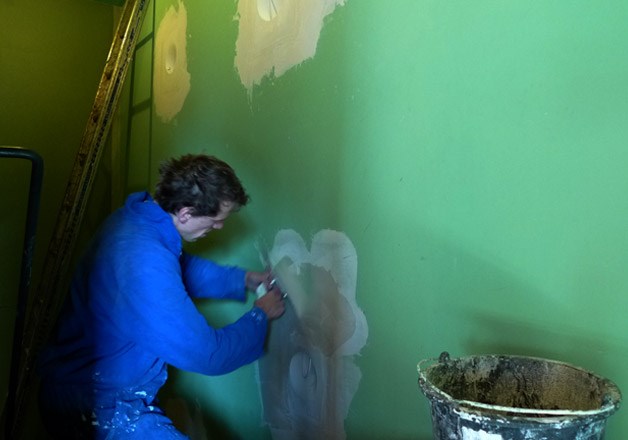
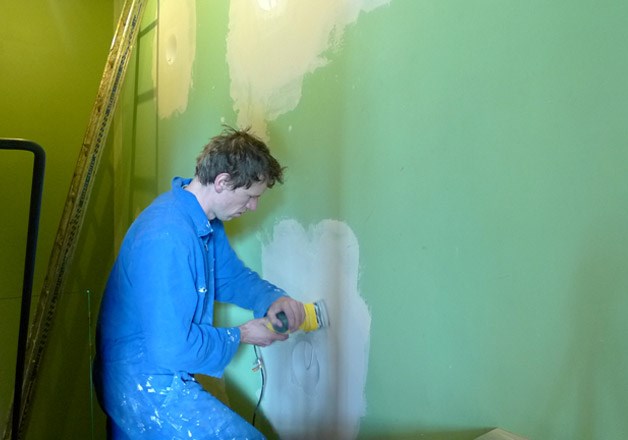
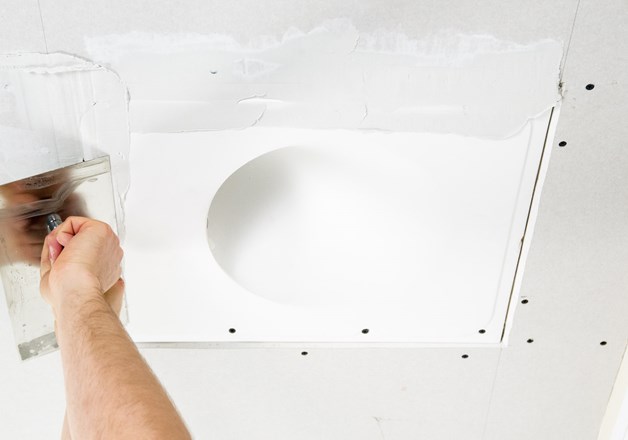
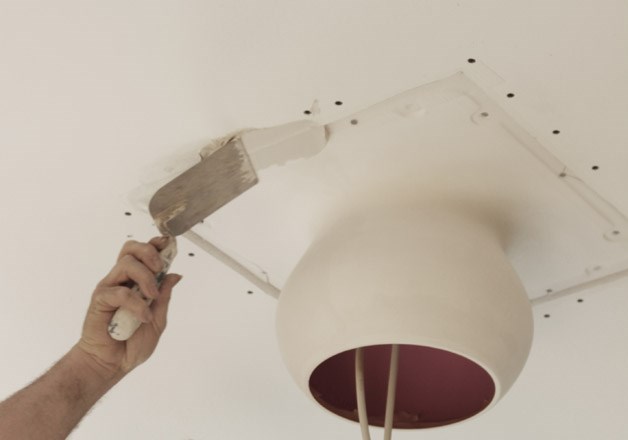
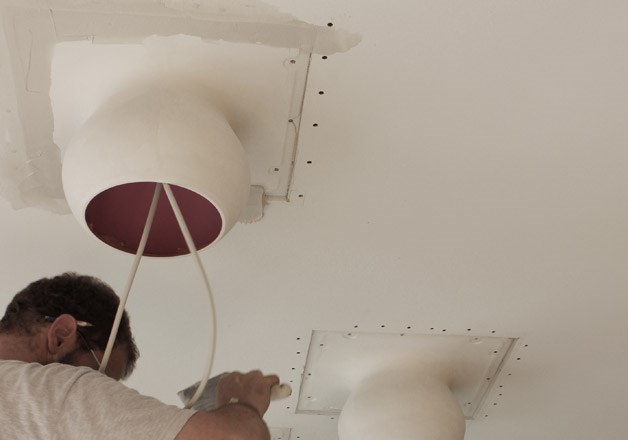
5. Adding fabric tape, fill the joints diligently. Make sure
to fill only the joints and leave the three-dimensional elements
intact.
Prime and paint the plaster module with
the ceiling paint. The insides of the round recesses may also
be carefully painted. The plaster modules are not suitable for
coarse plaster!
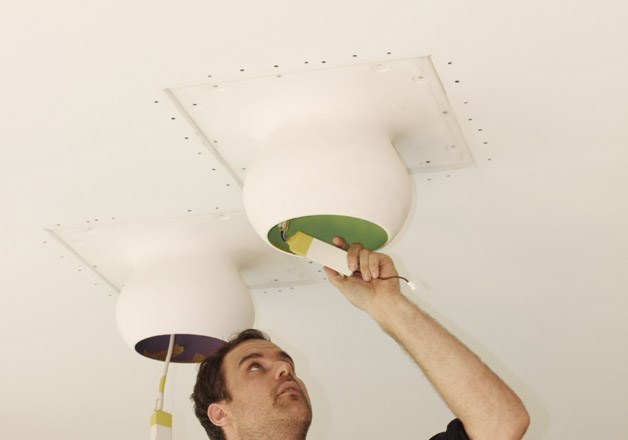
6. Put desired LED insert into LED mounting and turn clockwise
by approx. 90° until it sits securely. We recommend using
the DOT 28 System mounting pliers 168101. CAUTION!
HOT PLUG! The number of luminaires (3 LEDs per VERSA)
depends on the capacity of the led-driver. Please observe
specifications on devices or in our planning documents.
CAUTION: Please check individually with your contractor if you want to
use coarse plaster, clay plaster, or acoustic plaster.
Plaster modules are brittle and may break easily. Take particular
care of the module’s very delicate recesses.
Reserve enough air space for cooling element. Observe minimum
installation depth for module. The luminaire must not be covered
with insulation material, a steam brake, fleece or film!
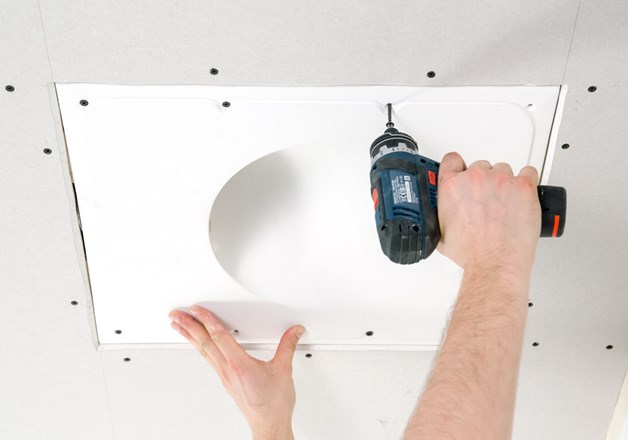
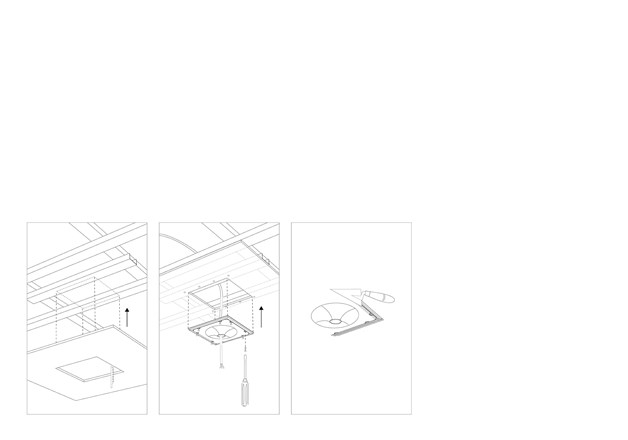
1. Prepare substructure for screwing module. Screw the
luminaire modul on the same substructre as the plasterboard
(12.5 mm). For double plating take care of an adequate recess an
the first plater board plating.
Take care of keeping clean and undamaged the recess of the luminaire
during the whole process.
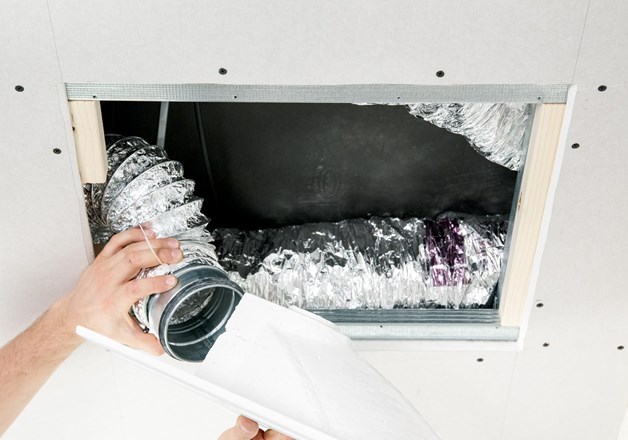
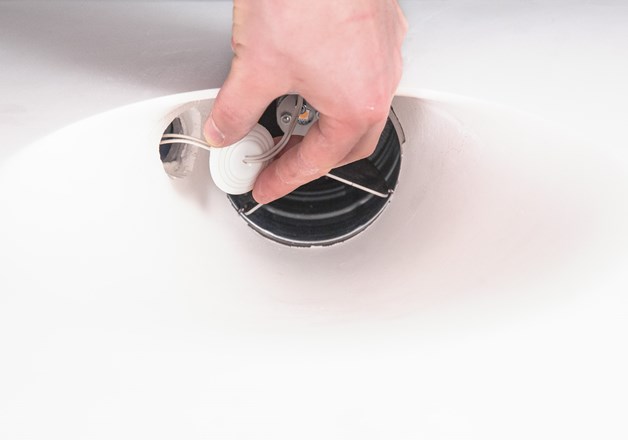
2. Connect the luminaire to the feed of the converter.
See electrical installation.
For the revisibility of the LED we recommend an about 20cm
extra length of the cable in the box. Flexible cables are recommended.
Option: The flexible cable can also be looped through the
box to the front of the module. This way, the LED can be connected
in an later work step.
Connect the ventilation supply line adequate to the connection pipe.
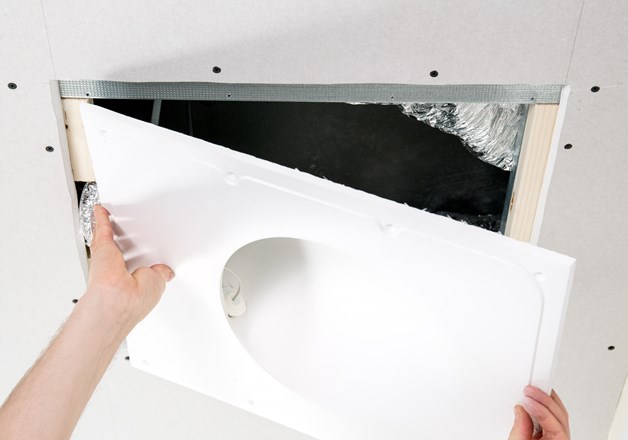
3. Carefully screw plaster module into prepared opening. CAUTION: Plaster modules are brittle and may break easily.
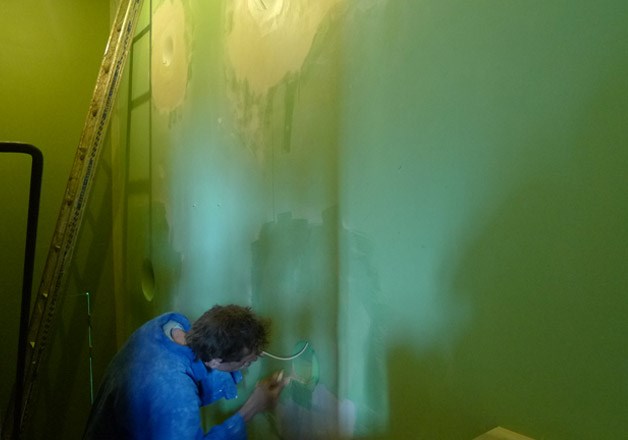
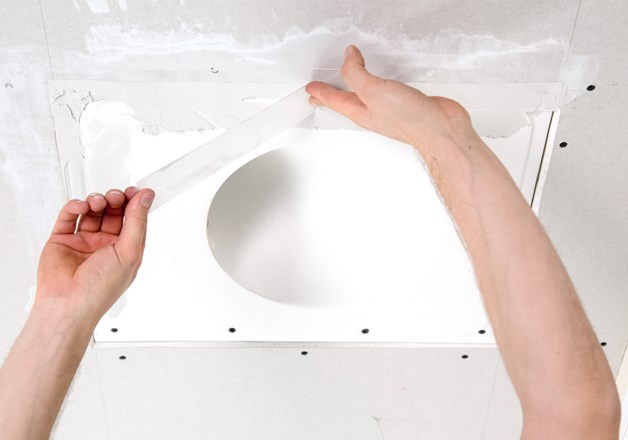
4. Adding fabric tape, fill
the joints. Use a filler which is elastic enough. Prime and paint
the plaster module - use a small structured roll. The lamp is not
suitable for coarse-grained plaster or the outside.
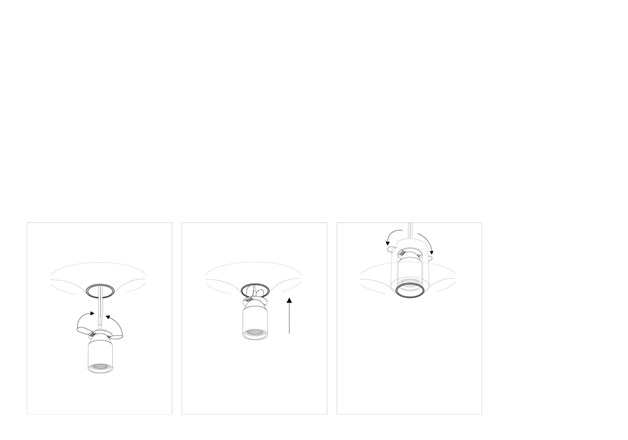
EXHAUST AIR: The flow glass
must only be screwed to the LED in the case of exhaust air. Before
attaching the flow glass, remove the protective film on the front
and back.
REVISION: For the revisibility
of the LED loosen the screws.
ELECTRICAL INSTALLATION: All installations and maintenance
work must be carried out by an authorised electrician according
to local safety regulations. Check for existing wiring and power
lines before drilling.
CAUTION: Caution Hot Plugg! It is essential to ensure that the constant
current source is disconnected from the mains when connecting
the lights or install the ventilation unit!
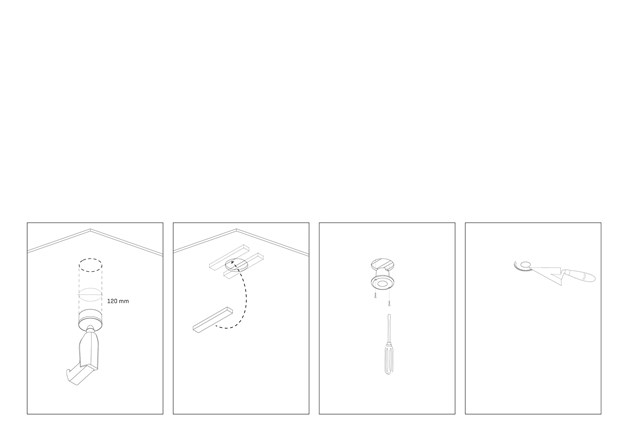
1. Drill a hole with a hole cutter (diameter: 120mm) at the
intended location into the plasterboard.
2. Screw the luminaire module on the same substructure
as the plasterboard. Finish the joints cleanly and neatly
and use a filler which is elastic enough.
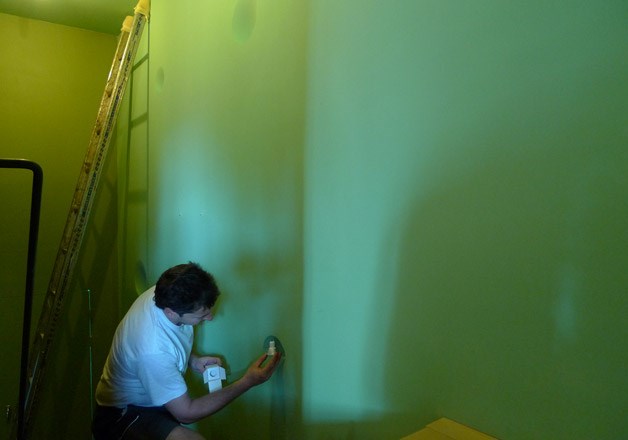
3. Ground and apply the paint on the luminaire.
4. The illuminant is not suitable for outside! –IP 20
CAUTION: With this type of luminaire sidelight occures in the area of
the filling. Therefore the filling has to be elaborated in according
quality!
VOLEM EXTRO
1. Srew the construction board on the substructure of the
plasterboard ceiling.
2. Mount the plasterboard firmly on the substructure. Fix
the plaster module on the construction board.
3. Fill joints cleanly and neatly by using a fabric tape.
Ground and apply the paint on the plaster module.