1. Ensure that the installation module is installed correctly in
accordance with the instructions. Inaccurate installation can lead
to grazing light images. Ensure that the bayonet ring is flush with
the heat sink. Figure 1 red marking. To install the light correctly, the
exact sequence of steps must be followed.
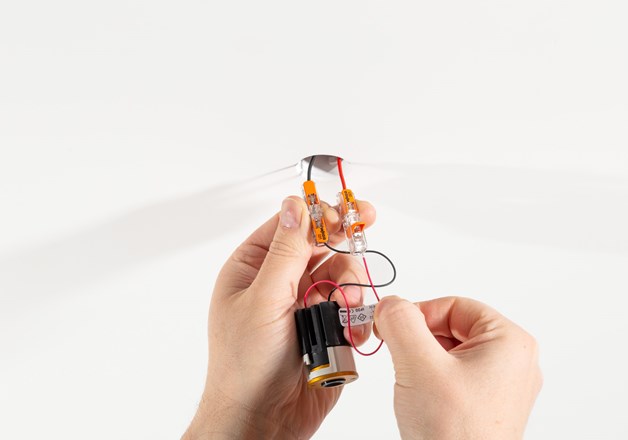
2. Connect the light in series
correctly to the supply line of the corresponding LED driver. The LED
driver must be disconnected from the mains voltage. Ensure that the
LED driver has been disconnected from the mains for at least 10-15
seconds immediately before connecting the luminaire.
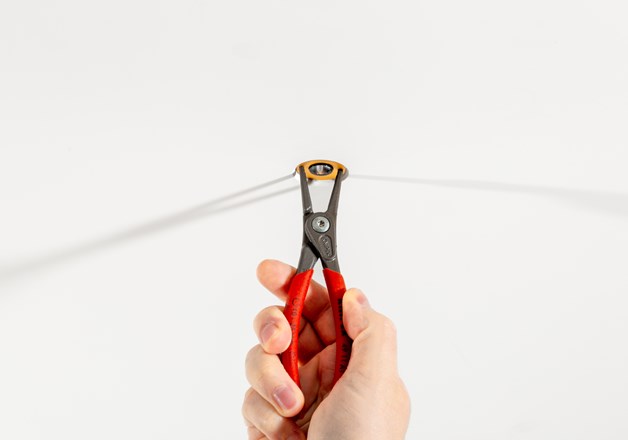
3. Take the locking pliers and insert the light into the bayonet
mount up to the stop (A). Turn the light clockwise (approx. 340°)
with slight upward pressure until the light reaches the end stop (B).
It must be possible to do this smoothly and without great effort.
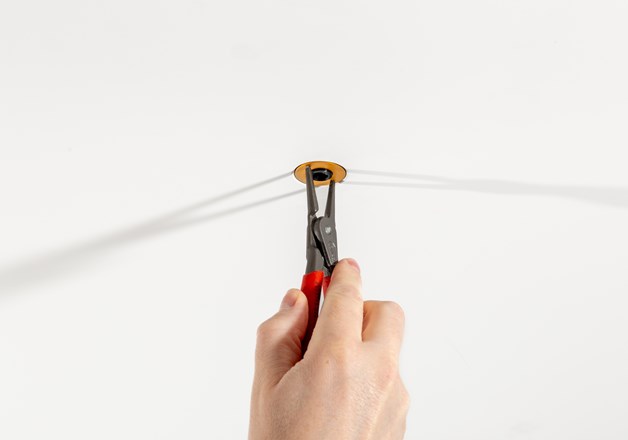
4. Pull the light
downwards at the end stop (C) until it is flush with the ceiling. This
ensures that the luminaire is correctly seated in the bayonet mount.
When flush and with a slight downward pull, you can now align the
luminaire/reflector to the wall (D). This adjustment must also be
possible without great effort.
Use flexible supply cables (e.g. low-voltage cables) to avoid transferring tensile stresses to the luminaire.
CAUTION:
For thermal reasons, installation in the wooden capsule does not work.
Due to a sharp edge on the internal thread of the WOODEN INSTALLATION RING, the WALL28 or WALL28 POWER can only be installed in WOODEN INSTALLATION RINGS that were delivered from March 1st, 2024. WOODEN INSTALLATION RINGS delivered
before this date can be deburred when installed by hand, using a circular grinder or sandpaper.
Precise installation of the built-in module is required due to the grazing light.