1. Prepare substructure for screwing module. Screw the
luminaire modul on the same substructre as the plasterboard
(12.5 mm). For double plating take care of an adequate recess an
the first plater board plating.
Take care of keeping clean and undamaged the recess of the luminaire
during the whole process.
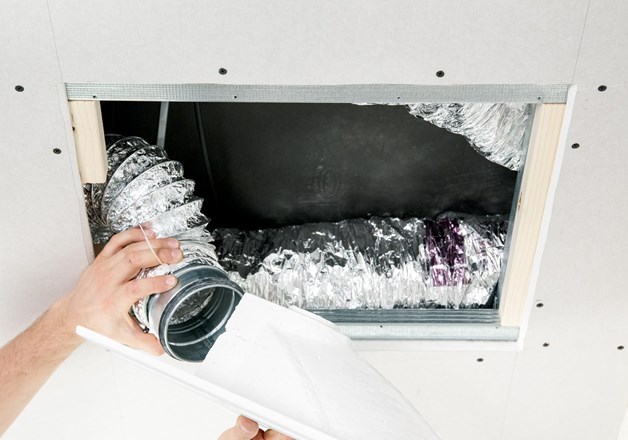
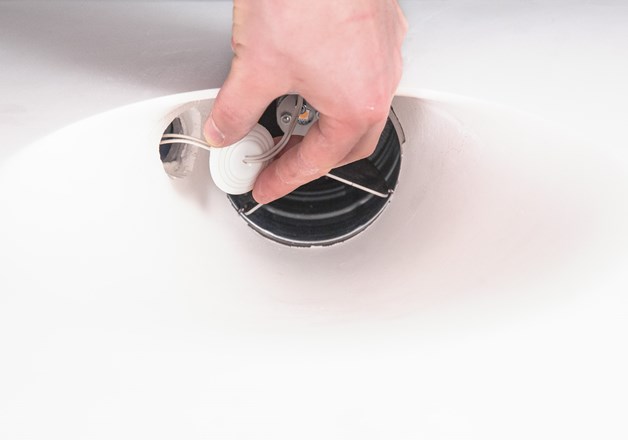
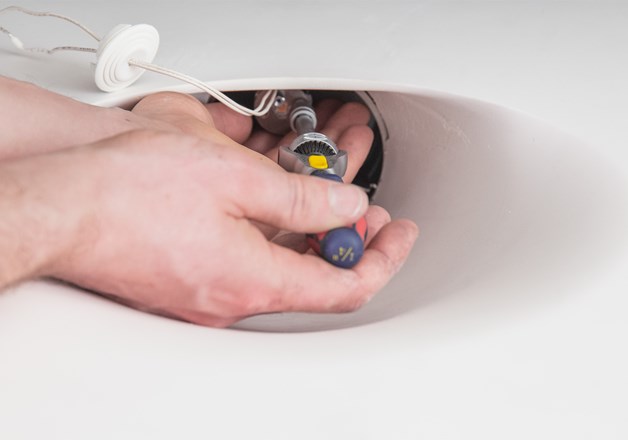
2. Connect the luminaire to the feed of the converter.
See electrical installation.
For the revisibility of the LED we recommend an about 20cm
extra length of the cable in the box. Flexible cables are recommended.
Option: The flexible cable can also be looped through the
box to the front of the module. This way, the LED can be connected
in an later work step.
Connect the ventilation supply line adequate to the connection pipe.
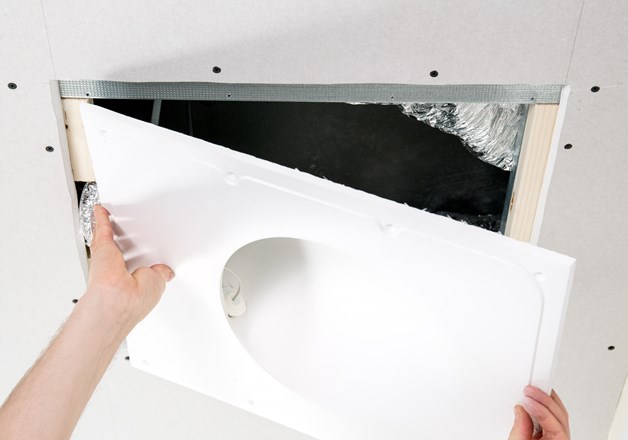
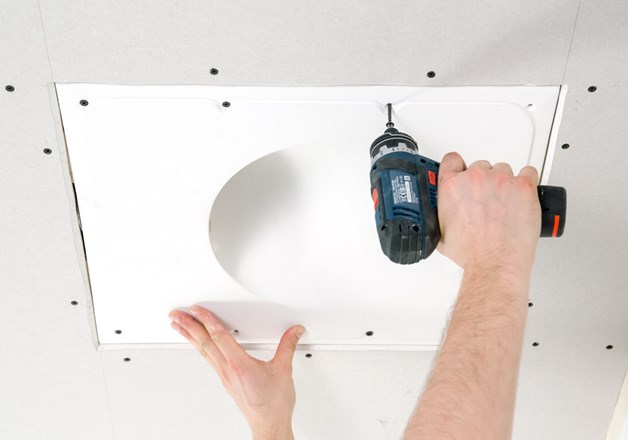
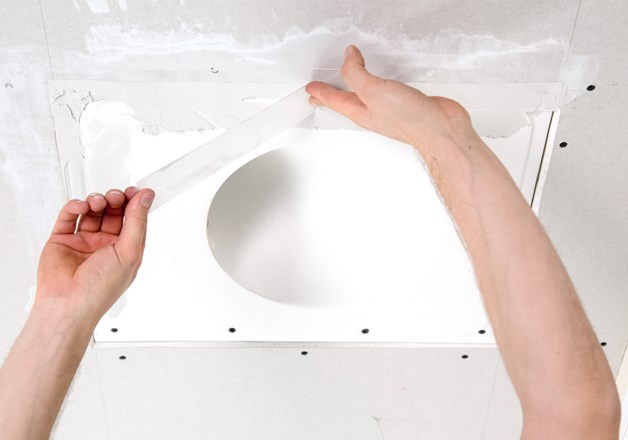
3. Carefully screw plaster module into prepared opening. CAUTION: Plaster modules are brittle and may break easily.
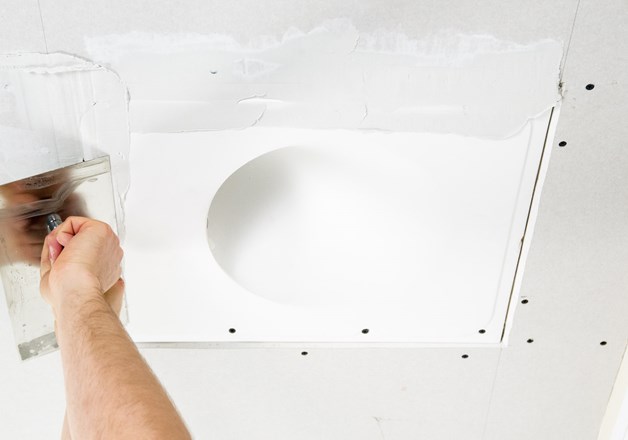
4. Adding fabric tape, fill
the joints. Use a filler which is elastic enough. Prime and paint
the plaster module - use a small structured roll. The lamp is not
suitable for coarse-grained plaster or the outside.
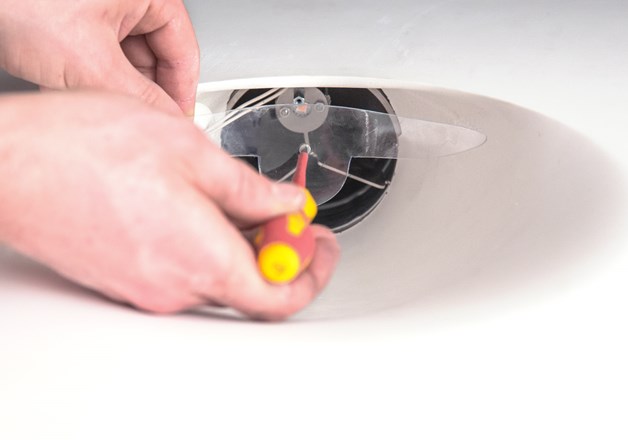
EXHAUST AIR: The flow glass
must only be screwed to the LED in the case of exhaust air. Before
attaching the flow glass, remove the protective film on the front
and back.
REVISION: For the revisibility
of the LED loosen the screws.
ELECTRICAL INSTALLATION: All installations and maintenance
work must be carried out by an authorised electrician according
to local safety regulations. Check for existing wiring and power
lines before drilling.
CAUTION: Caution Hot Plugg! It is essential to ensure that the constant
current source is disconnected from the mains when connecting
the lights or install the ventilation unit!