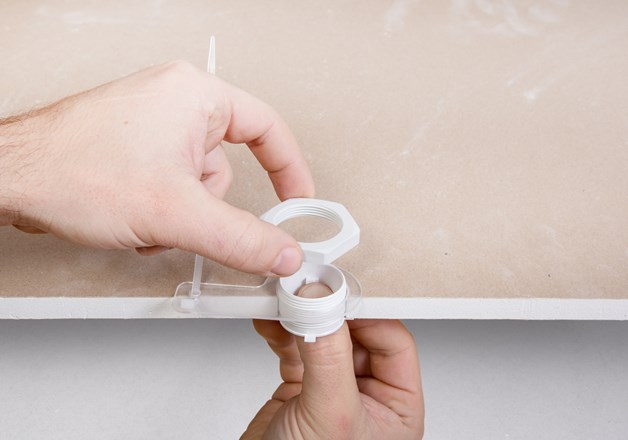
2. Drywall mounting ring into opening from below, add cable holder and fasten filler ring with screw nut from above.
CAUTION: Make sure to place plaster claws flat on drywall. Plaster claws must not protrude into space below.
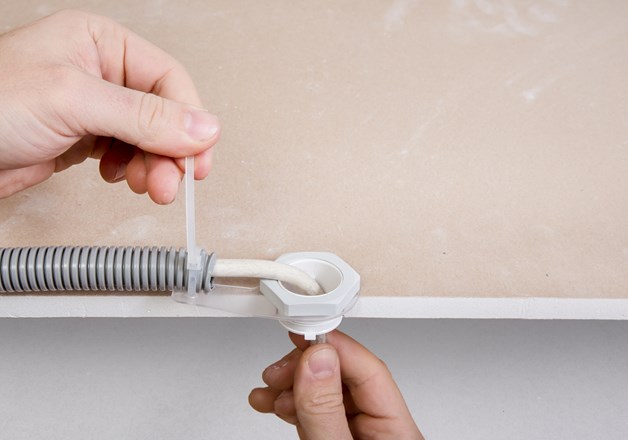
3. Secure cable to cable holder with cable tie.
4. Fasten supply line to protective cover and use the cover to close opening. Make sure plaster claws do not stick out to the front. Claws must be completely covered with filler.
5. Plaster ceiling.
6. Carefully sand protective conver until it is entirely visible.
CAUTION: Do not abrade protective cover or the plaster claws will be exposed.
After sanding, remove protective cover and pull cable to the front. Imprecisions have to be reworked by hand.
Prime and paint the filler ring with the ceiling paint. Module is not suitable for coarse plaster!
CAUTION: Please check with your plasterer if you want to use coarse, loam, or acoustic plaster. Alternatively Spackling insert 68-28 (Item No. 208862) therefore may be more suitable.
Reserve enough space for cooling element. Observe minimum installation depth for module and luminaire. If a luminaire with cooling element is used, do not cover it with insulation material, steam brake, fleece or film!


.jpg?size=628x440&v=saFGQCX68w%2F1CF47hd%2FJUMunVz0%3D)
.jpg?size=628x440&v=1F76Cwg7UYNuMvBQuRmAH0dIrCE%3D)


.jpg?size=53x37&v=saFGQCX68w%2F1CF47hd%2FJUMunVz0%3D)


.jpg?size=53x37&v=1F76Cwg7UYNuMvBQuRmAH0dIrCE%3D)

