1. Connect the luminaire correctly to the feed of the LED driver (constant feed). The LED driver must be disconnected from the power supply! It is essential to ensure that the constant current source has been disconnected from the mains for at least 10-15 seconds before lights are connected!
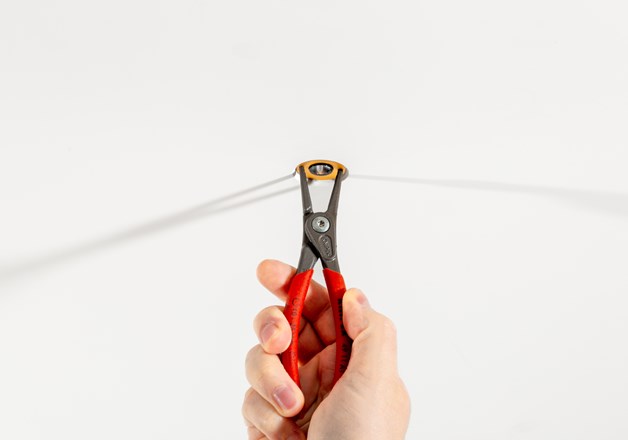
2. We recommend using the circlip pliers 10-25mm (art. no.: 168101) to mount the light in the best
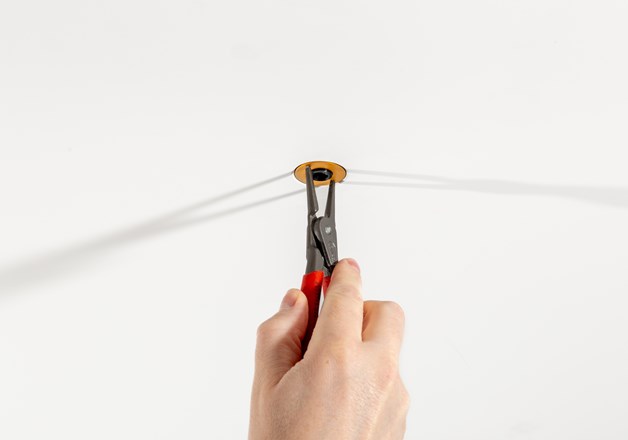
possible way. Before inserting the light into the installation module, make sure that the hole is free of dirt. Insert the working tips into the mounting holes and press the circlip pliers together with a firm grip. Insert the light into the installation module as far as it will go and carefully turn it 90° to the right. Once back at the stop, pull the light downwards until it is flush with the ceiling. When installing the light completely, make sure that the circlip pliers are held firmly to prevent slipping and possible damage to the cover ring.
To de-install, hold the light with the circlip pliers again with a firm grip and push it into the ceiling as far as it will go. Turn the light 90° to the left and carefully pull it downwards and out of the
ceiling.
CAUTION: Provide enough airspace for the cooling element. Observe minimum installation depth. Do not cover with insulation material, steam brake, fleece or film!
For DOT 28 CONE and DOT 28 POWER CONE, the luminaire is always supplied with an integrated lifting bracket.This is used to pull the luminaire up to the ceiling.
Installation
WALL 28 +
WALL 28 POWER
Not available with DIM TO WARM and LENS 15° technology.
Use DOT SLIM technology for higher power rangers.
1. Ensure that the installation module is installed correctly in
accordance with the instructions. Inaccurate installation can lead
to grazing light images. Ensure that the bayonet ring is flush with
the heat sink. Figure 1 red marking. To install the light correctly, the
exact sequence of steps must be followed.
2. Connect the light in series
correctly to the supply line of the corresponding LED driver. The LED
driver must be disconnected from the mains voltage. Ensure that the
LED driver has been disconnected from the mains for at least 10-15
seconds immediately before connecting the luminaire.
3. Take the locking pliers and insert the light into the bayonet
mount up to the stop (A). Turn the light clockwise (approx. 340°)
with slight upward pressure until the light reaches the end stop (B).
It must be possible to do this smoothly and without great effort.
4. Pull the light
downwards at the end stop (C) until it is flush with the ceiling. This
ensures that the luminaire is correctly seated in the bayonet mount.
When flush and with a slight downward pull, you can now align the
luminaire/reflector to the wall (D). This adjustment must also be
possible without great effort.
Use flexible supply cables (e.g. low-voltage cables) to avoid transferring tensile stresses to the luminaire.
CAUTION:
For thermal reasons, installation in the wooden capsule does not work.
Due to a sharp edge on the internal thread of the WOODEN INSTALLATION RING, the WALL28 or WALL28 POWER can only be installed in WOODEN INSTALLATION RINGS that were delivered from March 1st, 2024. WOODEN INSTALLATION RINGS delivered
before this date can be deburred when installed by hand, using a circular grinder or sandpaper.
Precise installation of the built-in module is required due to the grazing light.
Installation SFERE 28
MAX. CURRENT:
Installation heights lower than 230cm: 250mA
Installation heights over 230cm: 350mA
For wall-installation, use SFERE 28 with additional bayonet mounting for wall installation (ArtNr. 278505).
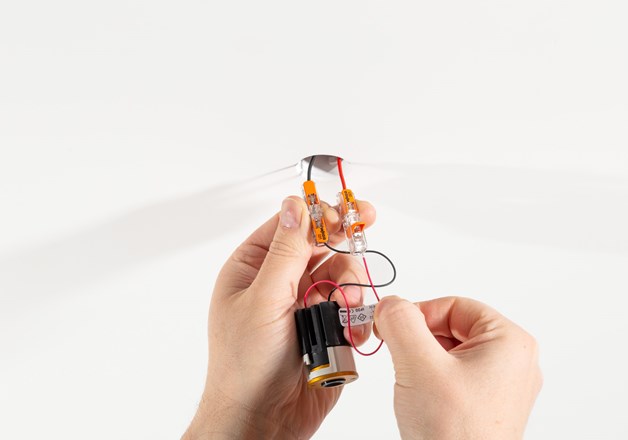
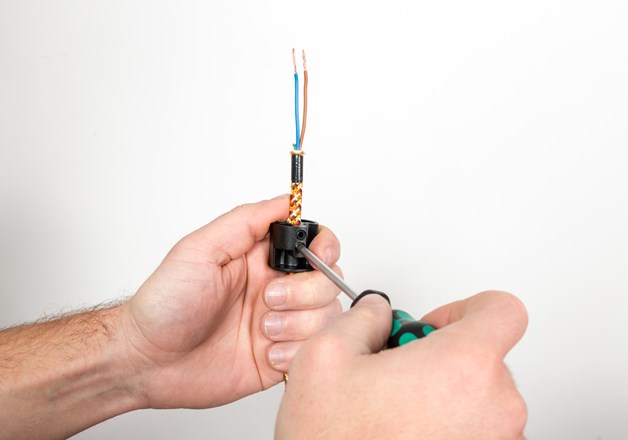
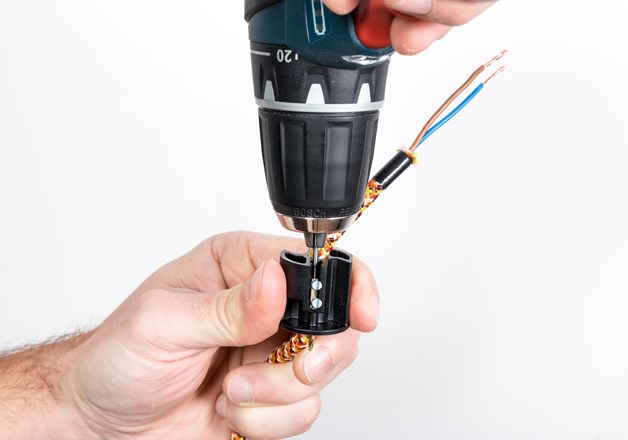
1. Connect the
luminaire correctly to the feed of the led-driver (constant feed,
max. 350mA if installation height is over 230cm). The led-driver
must be disconnected from the power supply!
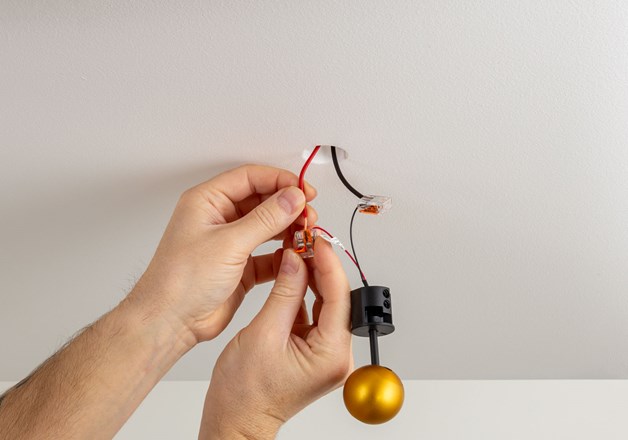
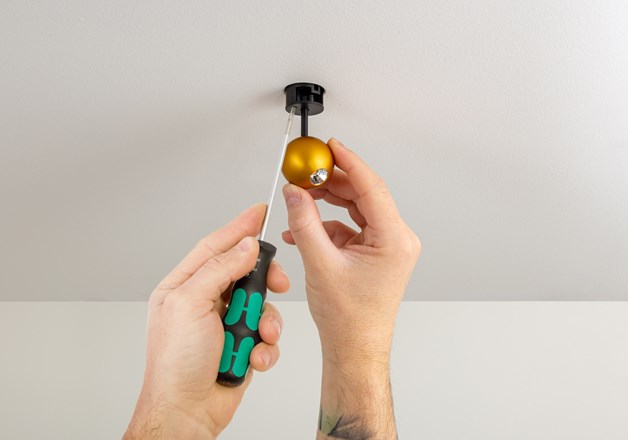
2. Insert the luminaire
into the bayonet mechanism of the ceiling outlet. Carefully
rotate SFERE 28 by 90° to the right and pull down until the
mounting sits flush with the ceiling.
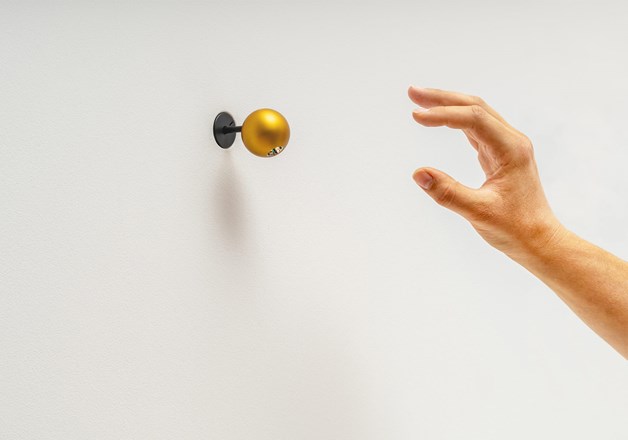
For different orientation, rotate SFERE 28 by 180° before inserting it into the
bayonet mechanism.
To de-install, lift SFERE 28 and rotate counter-clockwise by 90°.
For wall-installation, use SFERE 28 with additional bayonet mounting for wall installation (ArtNr. 278505).
Installation
CERA 28 +
CERA C 28
Observe general information regarding electrical installation
and maximum power input.
Recommendet current feed for size S as mirror luminaire : 250mA
1. Connect the luminaire correctly to the feed of the
led-driver (series circuit, max. 350mA). The led-driver must be
disconnected from the power supply!
2. Insert the luminaire into the bayonet mechanism of the ceiling
outlet. Carefully rotate CERA 28 by 90° to the right and pull down
until the mounting sits flush with the ceiling.
OPTION WALL INSTALLATION:
For wall-installation the supplied rubber bullets can be
pressed into the prepared holes in the cooling element.
To de-install, lift CERA 28 and rotate
counter-clockwise by 90°.
CAUTION: Separate from power supply at least 10 –15 seconds before installation.
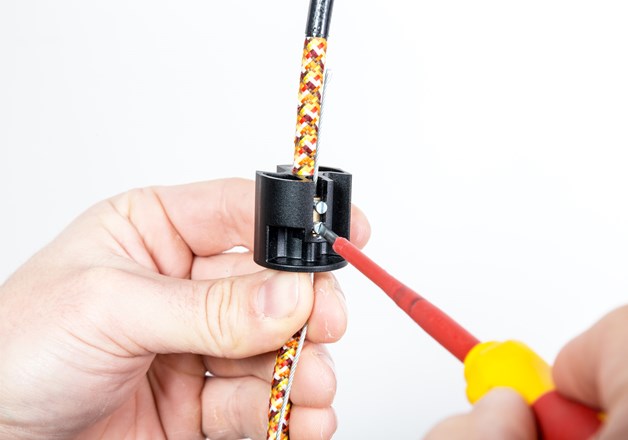
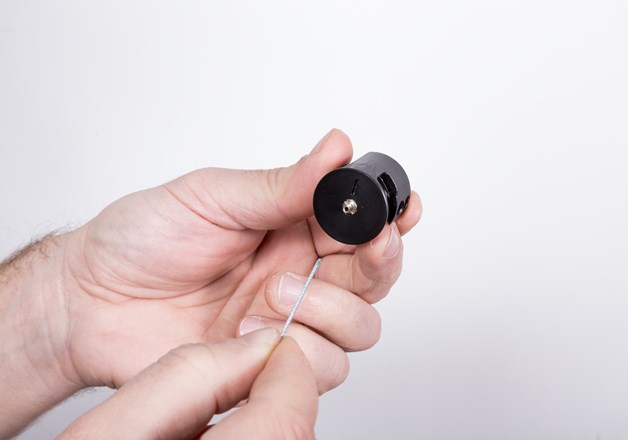
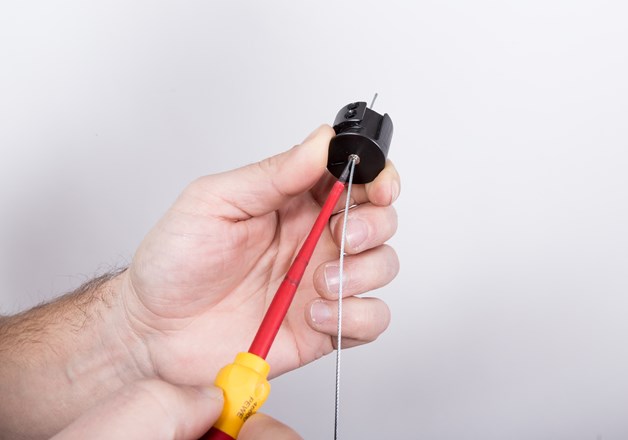
1. Adjust and carefully secure cable length using the two socket screws. Install pendant luminaire according to the installation manual enclosed.
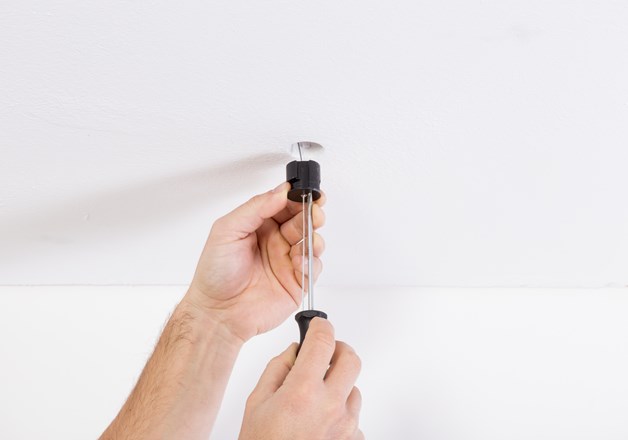
Push bayonet mechanism up with slotted
screwdriver and rotate clockwise by 90°, then pull downwards
until it locks into place.
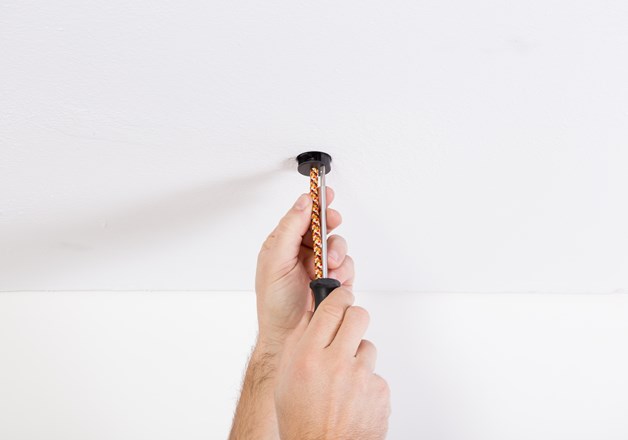
2. After setting the right length, use enclosed blade and carefully open side of protective tube.
3. Cut protective tube just below bayonet mechanism.
4. Carefully remove protective tube from cable.
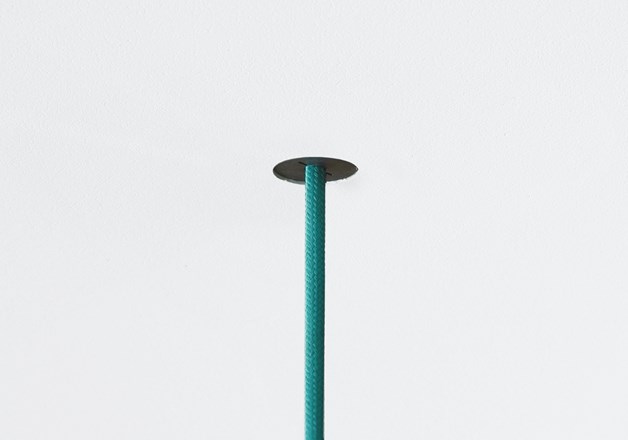
CAUTION: Mesh cable is under low voltage and must not touch any metal
elements below or within the ceiling.
HOT PLUG DANGER! Separate from power supply at least 10 –15 seconds before installation.
Installation BALDA 28
MAXIMUM LOAD 1 TO 10 KG, DEPENDING ON CABLE AND MODULE
2.Connect the luminaire correctly to the feed of the LED driver (constant feed). The led-driver must be disconnected from the power supply! It is essential to ensure that the constant current source has been disconnected from the mains for at least 10-15 seconds before lights are onnected.
3. Push the springs attached to the
lighting module back and insert the luminaire into the opening provided.
CAUTION: Provide enough airspace for the cooling element. Observe minimum installation depth. Do not cover with insulation material, steam brake, fleece or film!
Installation also applies to DOT 35 and DOT 35 POWER with glare supression, fade ring or CONE.